
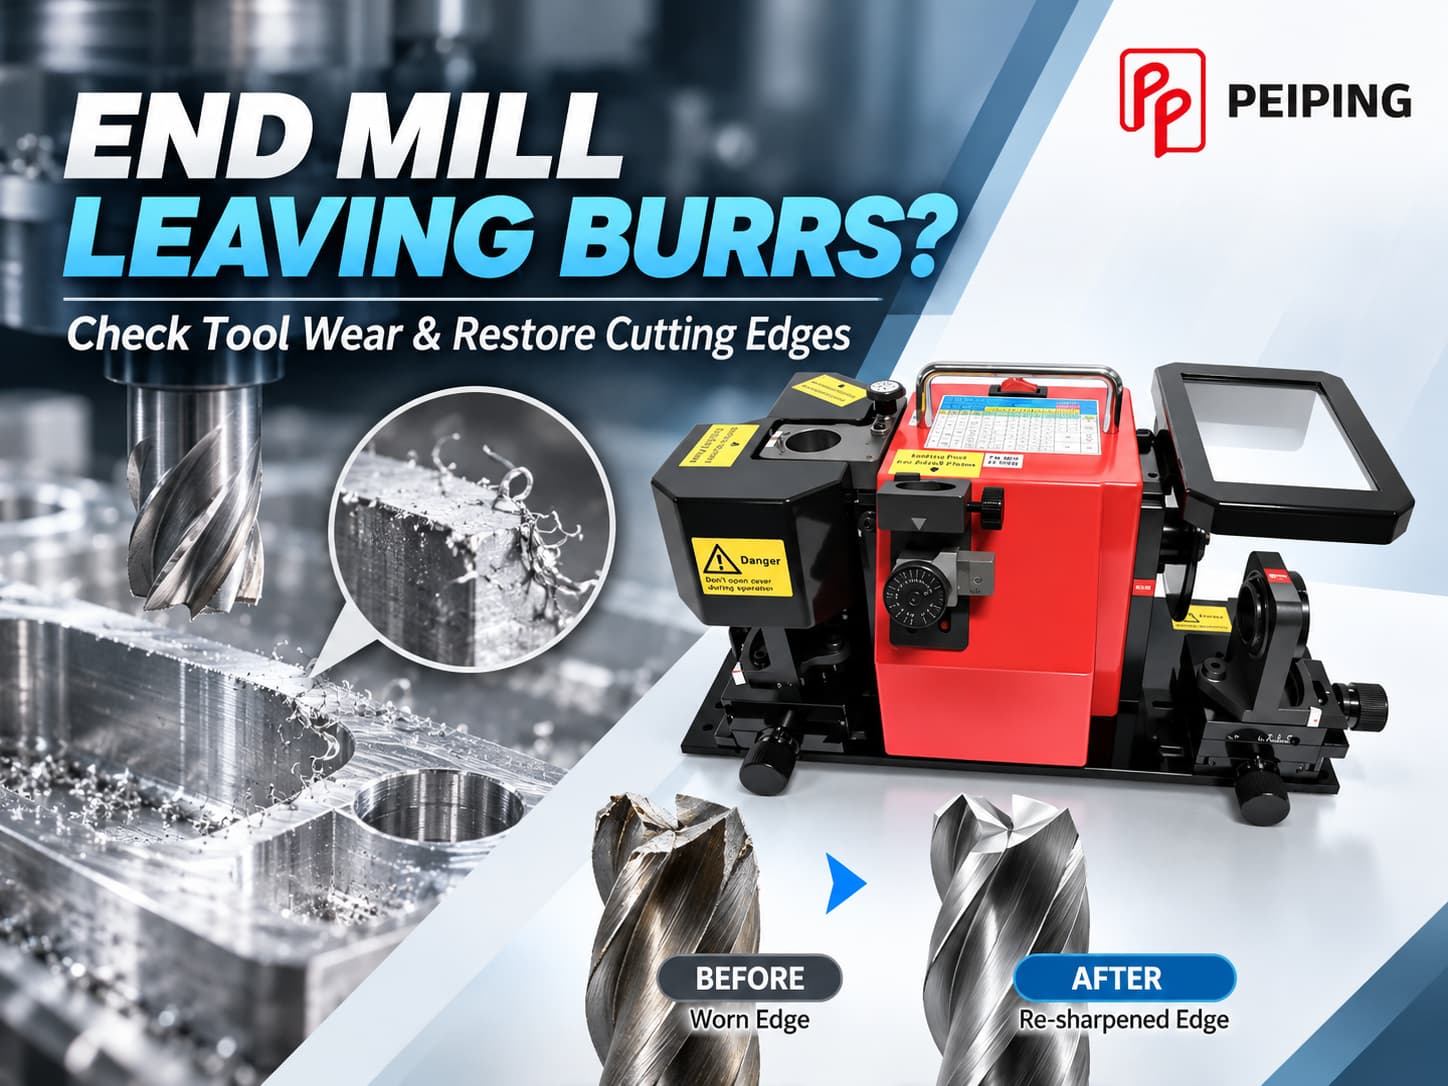
Burrs appearing after CNC milling can increase deburring time, affect part quality, and interfere with assembly. Although cutting parameters and toolpaths can contribute to burr formation, worn or chipped end mills are another important factor to investigate.
At PEIPING, we provide cutting tool grinding solutions that help manufacturers maintain their tools. In this guide, we explain how to identify end mill wear, determine when regrinding is appropriate, and select suitable end mill sharpening equipment.
Looking for a sharpening solution? Explore our End Mill Grinders to compare available models.
1. Why Does an End Mill Leave Burrs?
Burrs are unwanted raised edges formed when material is displaced rather than cleanly removed during machining. They frequently appear near tool exit locations, edges, and intersecting surfaces.
Several conditions may increase burr formation:
- Cutting-edge wear: Rounded or worn edges can increase rubbing and material deformation.
- Chipped cutting edges: Localized damage may produce irregular cutting results.
- Incorrect feeds and speeds: Unsuitable chip loads can affect chip formation.
- Toolpath conditions: Cutting direction and tool exit geometry influence burr formation.
- Workpiece material: Ductile metals may produce larger burrs under certain conditions.
- Tool runout or vibration: Unstable cutting can contribute to inconsistent edge quality.
2. How to Identify End Mill Wear
When burrs increase during production, inspecting the end mill is an important troubleshooting step.
Common Warning Signs
| Symptom | Possible Explanation |
|---|---|
| Increasing burr size | Rounded or worn cutting edges |
| Poor surface finish | Cutting-edge wear, vibration, or rubbing |
| Higher spindle load | Increased cutting resistance |
| Irregular cutting marks | Chipped teeth or tool runout |
| Visible edge damage | Flank wear, cracks, or chipping |
Three Checks Before Regrinding
Step 1: Inspect the Tool
Clean the end mill and examine the end cutting edges, peripheral edges, and cutting corners using suitable magnification.
Step 2: Compare Machining Results
Test a known-good end mill under comparable conditions. If burr formation decreases, the original tool may be contributing to the problem.
Step 3: Verify the Setup
Check tool runout, workholding, cutting parameters, and toolpath conditions before deciding to regrind.
3. When Should You Sharpen or Replace an End Mill?
Not every worn end mill can be restored economically or safely. Regrinding suitability depends on the tool material, remaining dimensions, and severity of damage.
| Tool Condition | Recommended Action |
|---|---|
| Minor, uniform wear | Consider regrinding |
| Moderate flank wear | Assess whether geometry can be restored |
| Small localized chips | Evaluate damage depth and remaining material |
| Severe fractures or cracks | Replace the tool |
| Insufficient remaining diameter | Replace if dimensional requirements cannot be met |
For coated carbide end mills, sharpening may remove part of the original coating. Recoating may be necessary depending on the intended application.
4. How to Sharpen a Worn End Mill: Key Regrinding Steps
End mill sharpening involves more than producing a sharp edge. The grinding process must preserve the cutting geometry required for the tool's intended application.
Step 1: Identify the End Mill Geometry
Check the tool material, diameter, flute count, helix angle, and end geometry. Square-end, corner-radius, and ball-nose end mills may require different grinding setups.
Step 2: Choose the Grinding Wheel
Diamond wheels are commonly used for carbide tools, while CBN wheels are frequently used for high-speed steel tools. Wheel selection and grinding conditions should follow the tool and equipment manufacturer's recommendations.
Step 3: Restore the End Cutting Edges
When end-face sharpening is required, restore the appropriate end relief and cutting-edge geometry. Maintain consistency between cutting teeth and avoid excessive material removal.
Step 4: Regrind Peripheral Edges When Necessary
If wear extends along the peripheral cutting edges, additional grinding may be needed to restore the intended geometry.
Peripheral and helical grinding require suitable machine capabilities and attachments. Not every compact end mill sharpener supports these operations.
Step 5: Check Flute Geometry
Flute regrinding is not always necessary. When required, it must preserve the intended chip evacuation geometry and cutting-edge strength.
Step 6: Inspect the Sharpened Tool
Check the cutting edges for cracks, chipping, and grinding damage before performing a controlled test cut.
5. Manual Sharpening vs. Tool and Cutter Grinders
Manual sharpening may be suitable for limited noncritical maintenance, but accurately restoring end mill geometry requires considerable operator skill.
Dedicated end mill sharpeners simplify positioning for supported tools, while universal tool and cutter grinders offer greater flexibility when equipped with appropriate attachments.
| Factor | Manual Sharpening | Dedicated Sharpener | Universal Tool Grinder |
|---|---|---|---|
| Ease of setup | Skill-dependent | Guided for supported tools | More setup flexibility |
| Repeatability | Operator-dependent | Generally more consistent | Depends on setup and machine |
| Tool compatibility | Limited | Specific tool sizes and types | Broader with attachments |
| Best application | Limited maintenance | Routine compatible end mills | Varied or complex tooling |
The right equipment depends on the tools being sharpened, required operations, and workshop production needs.
6. Recommended PEIPING End Mill Grinding Machines
At PEIPING, we offer several grinding solutions for different tool sizes and regrinding requirements. The following models provide practical options for CNC machine shops and tool maintenance departments.
PP-12D — Precision End Mill Grinder
Grinding Capacity: Ø4–12 mm
The PP-12D is a compact option for workshops sharpening compatible smaller-diameter end mills. It is worth considering where routine sharpening and a limited tool-size range are priorities.
PP-20D — Fast End Mill Grinder
Grinding Capacity: Ø6–20 mm
For machine shops handling compatible end mills within a wider diameter range, the PP-20D offers a dedicated sharpening solution. It can be considered for recurring in-house tool maintenance.
PP-12DM / PP-20DM — Super End Mill Grinder
PP-12DM: Ø6–12 mm | PP-20DM: Ø6–20 mm
These models provide end mill re-sharpening with additional functions listed by PEIPING, including cutting-off, neck reduction with side lock, edge honing, and corner-radius operations. An expansion kit is available for upgrading functions.
PP-50 — Universal Tool & Cutter Grinder
For tool rooms requiring greater grinding flexibility, the PP-50 supports a range of cutting tools with suitable attachments. PEIPING lists the 50D end mill attachment and optional helical-tool grinding attachments among its configurations.
This model is more relevant when sharpening requirements extend beyond routine end-face grinding.
Which PEIPING Grinder Should You Choose?
For routine sharpening of compatible smaller end mills, start by comparing the PP-12D and PP-20D. If additional edge preparation or corner-radius operations are required, review the PP-12DM / PP-20DM.
For a wider variety of tools and grinding operations, consider the PP-50 with the appropriate attachments.
Compare PEIPING grinding solutions based on your tool diameter, material, and sharpening requirements.
Explore Grinding Machines7. How to Check End Mill Quality After Regrinding
Before returning a sharpened end mill to production, verify that it meets the intended machining requirements.
Cutting-Edge Condition
Inspect for chips, cracks, and grinding damage.
Relief Geometry
Confirm that the restored relief angles and tooth geometry are suitable for the end mill design.
Tool Dimensions
Measure the diameter and relevant cutting dimensions. Verify runout under appropriate inspection conditions.
Test Cutting
Perform a controlled machining test and evaluate:
- Burr formation and edge quality
- Surface finish
- Dimensional accuracy
- Cutting stability
- Tool wear progression
If burrs remain excessive after sharpening, investigate cutting parameters, toolpaths, workholding, and material behavior rather than repeatedly removing material from the tool.
8. Conclusion: Better Burr Control Starts with Proper Tool Maintenance
Excessive burrs during CNC milling may indicate end mill wear, but effective troubleshooting requires examining both tool condition and machining conditions.
When regrinding is appropriate, maintaining correct cutting-edge geometry is essential for returning the tool to productive use.
At PEIPING, we provide end mill sharpening and tool grinding solutions for different workshop requirements. Whether you need a compact sharpener for routine tool maintenance or a universal tool grinder for more varied applications, selecting equipment that matches your tools is the first step toward consistent regrinding results.
Discover PEIPING end mill grinding equipment and find a suitable solution for your machining requirements.
View End Mill Grinders Contact PEIPING